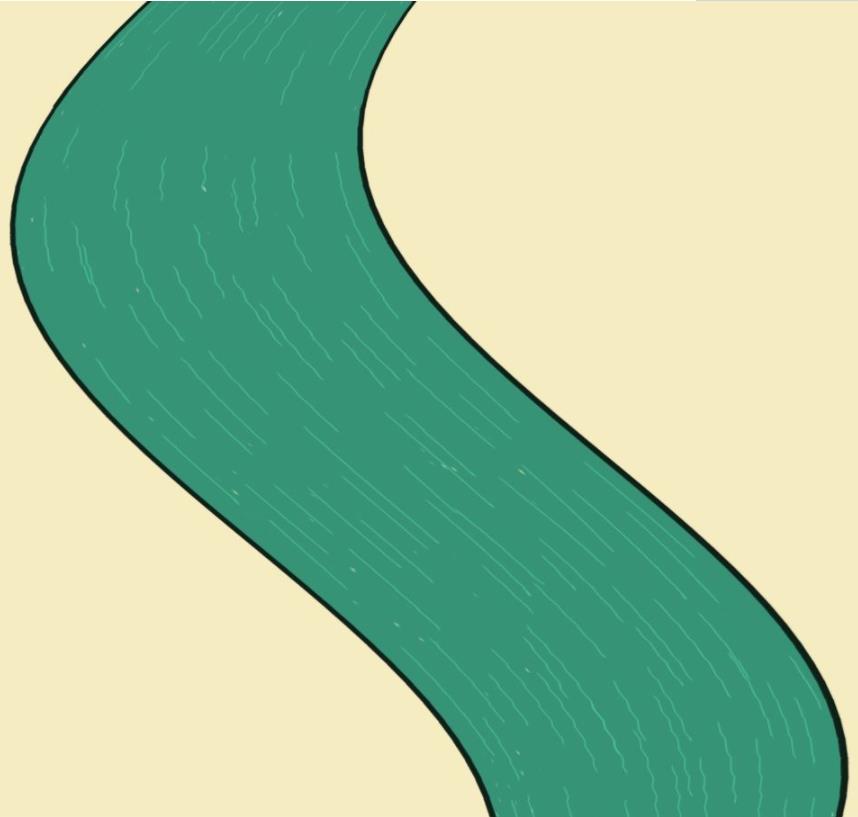
水流的模拟主要运用了顶点变换和纹理动画的结合;
顶点变换中,利用正弦函数模拟河流的大致形态,例如波长,振幅等。
纹理动画中,将纹理坐标朝某一方向持续滚动以形成流动的效果。
脚本如下:
shader "myunlit/scrollwater"
{
 properties
 {
  _maintex ("texture", 2d) = "white" {}
  _color("color tint",color)=(1,1,1,1)
  //控制水流波动的幅度,也就是三角函数中的振幅(值域范围)
  _magnitude("distortion magnitude",float)=0.3
  //控制周期的长度,值越大,周期越短,频率越高
  _invwavelength("distortion inserve wave length",float)=1
  //流动速度,用于纹理变换
  _speed("speed",float)=0.1
 }
 subshader
 {
  //顶点动画需要禁用合p处理
  tags {"queue"="transparent" "rendertype"="transparent" "ignoreprojector"="true" "disablebatching"="true"}
  pass
  {
   //透明度混合:关闭深度写入 设置混合状态 禁用剔除(双面渲染)
   tags{"lightmode"="forwardbase"}
   zwrite off
   blend srcalpha oneminussrcalpha
   cull off
   cgprogram
   #pragma vertex vert
   #pragma fragment frag
   #pragma multi_compile_fog
   #include "unitycg.cginc"
   struct appdata
   {
    float4 vertex : position;
    float2 uv : texcoord0;
   };
   struct v2f
   {
    float2 uv : texcoord0;
    unity_fog_coords(1)
    float4 vertex : sv_position;
   };
   sampler2d _maintex;
   float4 _maintex_st;
   fixed4 _color;
   float _magnitude;
   float _invwavelength;
   float _speed;
   v2f vert (appdata v)
   {
    v2f o;
    float4 offset;
    //这里的方向可以自己选择,这里选择偏移x方向,其他方向的偏移保持不变
    offset.yzw = float3(0, 0, 0);
    //利用正弦函数模拟河流整体的形状,最后乘以振幅
    offset.x = sin((v.vertex.x   v.vertex.y   v.vertex.z)*_invwavelength)*_magnitude;
    o.vertex = unityobjecttoclippos(v.vertex offset);
    //对uv进行某一方向的滚动以模拟水流,这里选择v向
    o.uv = transform_tex(v.uv, _maintex);
    o.uv  = float2(0.0, _time.y*_speed);
    unity_transfer_fog(o,o.vertex);
    return o;
   }
   fixed4 frag (v2f i) : sv_target
   {
    fixed4 col = tex2d(_maintex, i.uv);
    col.rgb *= _color.rgb;
    unity_apply_fog(i.fogcoord, col);
    return col;
   }
   endcg
  }
 }
 fallback "transparent/vertexlit"
}
p.s.需要把纹理的导入设置改为repeat(重复)
效果如下:


