目录
简介
之前我们提到了flutter提供了比较简单好用的animatedcontainer和slidetransition来进行一些简单的动画效果,但是要完全实现自定义的复杂的动画效果,还是要使用animationcontroller。
今天我们来尝试使用animationcontroller来实现一个拖拽图片,然后返回原点的动画。
构建一个要动画的widget
在本文的例子中,我们希望能够让一个图片可以实现拖拽然后自动返回原来位置的效果。
为了实现这个功能,我们首先构建一个放在界面中间的图片。
      child: align(
        alignment: alignment.center,
        child: card(
          child: image(image: assetimage('images/head.jpg'))
        ),
      )
这里使用了align组件,将一个图片对象放在界面中间。
接下来我们希望这个widget可以拖拽,那么把这个child放到一个gesturedetector中,这样就可以相应拖拽对应的响应。
 widget build(buildcontext context) {
    final size = mediaquery.of(context).size;
    return gesturedetector(
      onpanupdate: (details) {
        setstate(() {
          _animatealign  = alignment(
            details.delta.dx / (size.width / 2),
            details.delta.dy / (size.height / 2),
          );
        });
      },
      child: align(
        alignment: _animatealign,
        child: card(
          child: widget.child,
        ),
      ),
    );
  }
为了能实现拖动的效果,我们需要在gesturedetector的onpanupdate方法中对align的位置进行修改,所以我们需要调用setstate方法。
在setstate方法中,我们根据手势的位置来调整alignment的位置,所以这里需要用到mediaquery来获取屏幕的大小。
但是现在实现的效果是图像随手势移动而移动,我们还需要实现在手放开之后,图像自动回复到原来位置的动画效果。
让图像动起来
因为这次需要变动的是alignment,所以我们先定义一个包含alignment的animation属性:
late animation_animation;
接下来我们需要定义一个animationcontroller,用来控制动画信息,并且指定我们需要的动画起点和终点:
  late animationcontroller _controller;
      _animation = _controller.drive(
      alignmenttween(
        begin: _animatealign,
        end: alignment.center,
      ),
    );
我们动画的起点位置就是当前image所在的alignment,终点就在alignment.center。
alignment有一个专门表示位置信息的类叫做alignmenttween,如上代码所示。
有了起点和终点, 我们还需要指定从起点移动到终点的方式,这里模拟使用弹簧效果,所以使用springsimulation。
springsimulation需要提供对spring的描述,起点距离,结束距离和初始速度。
    const spring = springdescription(
      mass: 30,
      stiffness: 1,
      damping: 1,
    );
    final simulation = springsimulation(spring, 0, 1, -1);
我们使用上面创建的simulation,来实现动画:
_controller.animatewith(simulation);
最后我们需要在手势结束的时候来执行这个动画即可:
      onpanend: (details) {
        _runanimation();
      },
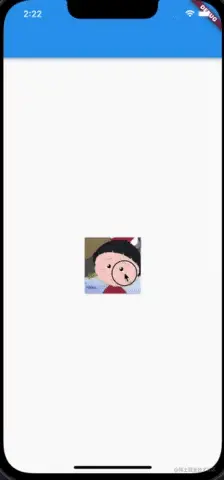
最后,运行效果如下所示:

总结
animationcontroller是一个很强大的组件,但是使用起来也不是那么的复杂, 我们只需要定义好起点和终点,然后指定动画效果即可。
本文的例子:
以上就是flutter使用animationcontroller实现控制动画的详细内容,更多关于flutter animationcontroller的资料请关注其它相关文章!

